
To make a simple beaded 3-D spider we need:
- seed beads #11: red and black;
- 130 cm of wire 0.2 mm in diameter;
- about 50 cm of thin fishing line or monofilament.
We use the technique of three-dimensional beading. Each row in the figure consists of two tiers: the upper tiers will form the back of the spider and the lower tiers - its tum.
In this figure we will use such a technique starting from the 3rd row.
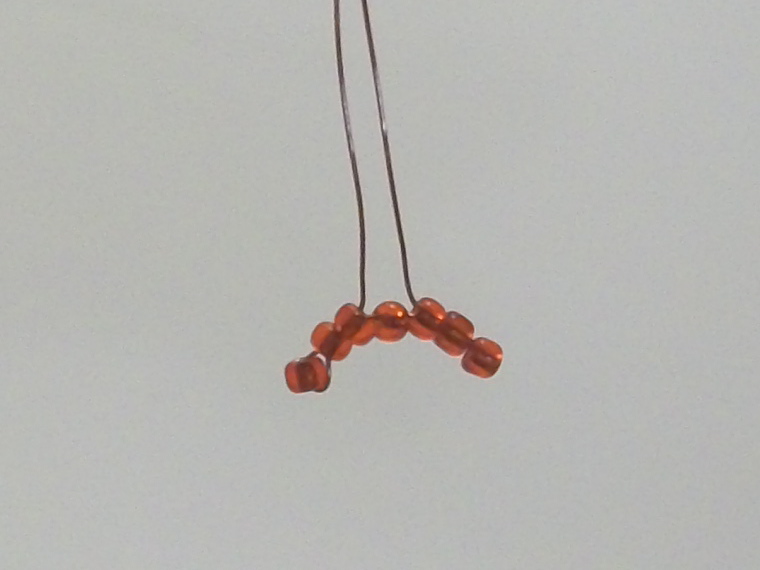
1st row:
String 3 red beads onto the wire and place them on the middle of the wire.

Hold one outside bead and pass the wire from its side through the other two beads in the opposite direction.

Pull the wires tight. We've got one spider's tentacle.

Choose the longer wire and string 4 red beads onto it.

Pass the same wire through 2 middle beads of these new beads in the opposite direction.

Pull the wires tight.

Bend slightly the row of beads in the center - we've got two spider's tentacles.
2nd row:
String 3 red beads onto either one of the wires.

Pass the other wire through all these beads in the opposite direction.

Pull the wires tight.
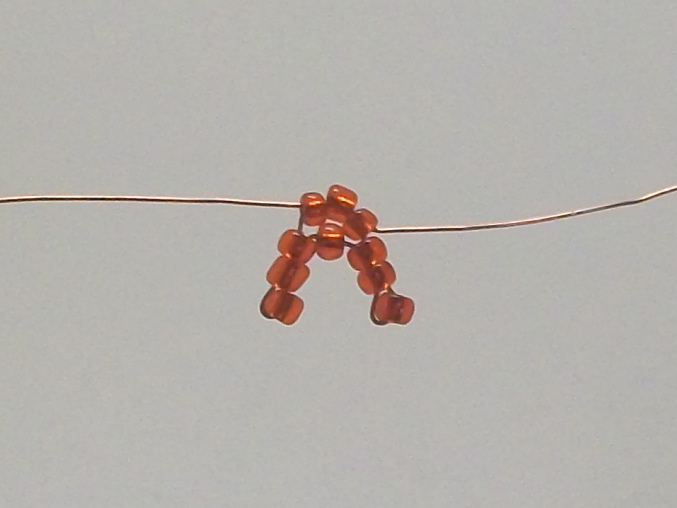
3rd row:
The upper tier: string beads onto either one of the wires in the following sequence: 1 black, 1 red, 1 black. Pass the other wire through all these beads in the opposite direction.

Starting from this row we use the technique of three-dimensional beading. The basic idea of this technique is to place the rows of beads in two tiers, one above the other. Therefore, pulling the wires at the current row we bend the wire slightly and place the beads above the previous row.


The lower tier: 4 red beads.

Place this tier below the previous one.

Then we should make legs. For the 1st front leg string beads onto either one of the wires in the following sequence: 5 black, 2 red, 2 black, 2 red, 5 black.

Hold the last (outside) bead and pass the same wire through the other 15 beads in the opposite direction.

Pull the wire tight - we've got one front spider's leg.
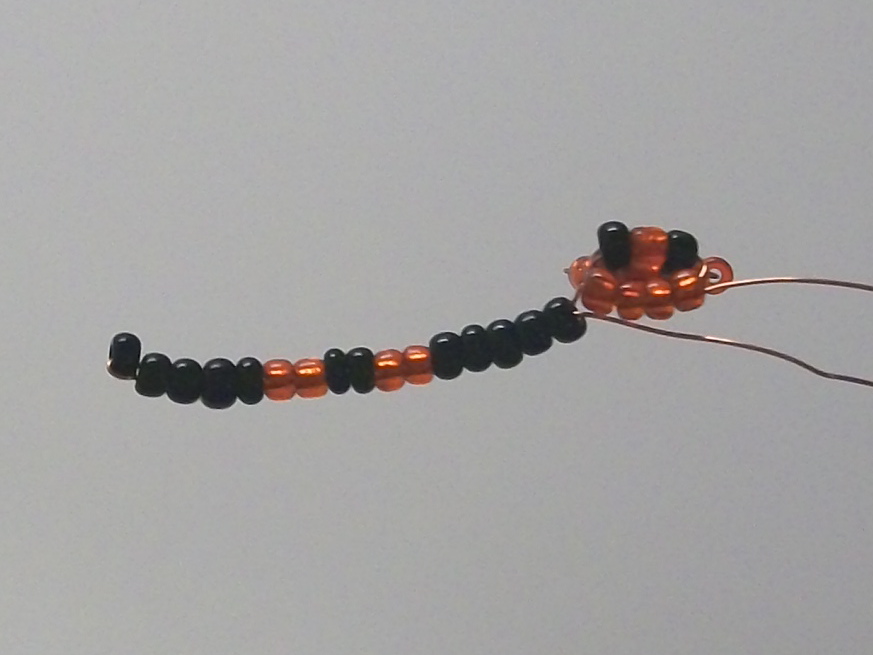
In the same way on the other wire make another front leg.

4th row:
The upper tier: 5 red beads.

The lower tier: 4 red beads.
Then make another legs. They are the same as the front legs. At first make one leg on either one of the wire stringing beads onto it in the following sequence: 5 black, 2 red, 2 black, 2 red, 5 black, then holding the last bead and passing this wire through the other 15 beads in the opposite direction.


Then make a similar leg on the other wire.

5th row:
The upper tier: 5 red beads.

The lower tier: 4 red beads.

Then make one more row of legs. Use the same technique as for previous legs but for each leg in this row string beads onto the wires in the following sequence: 3 black, 2 red, 2 black, 2 red, 3 black.

6th row:
The upper tier: 7 red beads.
The lower tier: 5 black beads.

Then make hind legs. Use the same technique as for all previous legs but for each hind leg string beads onto the wires in the following sequence: 5 black, 2 red, 2 black, 2 red, 2 black, 2 red, 2 black, 5 red.
7th row:
The upper tier: 9 black beads.
The lower tier: 6 black beads.

8th row:
The upper tier: string beads in the following sequence: 1 black, 3 red, 1 black, 1 red, 1 black, 3 red, 1 black.
The lower tier: 7 black beads.
9th row:
The upper tier: 12 black beads.
The lower tier: 8 black beads.

10th row:
The upper tier: string beads in the following sequence: 1 black, 9 red, 1 black.
The lower tier: 6 black beads.

11th row:
The upper tier: 9 black beads.
The lower tier: 4 black beads.

12th row:
The upper tier: string beads in the following sequence: 3 red, 1 black, 3 red.
The lower tier: 2 black beads.

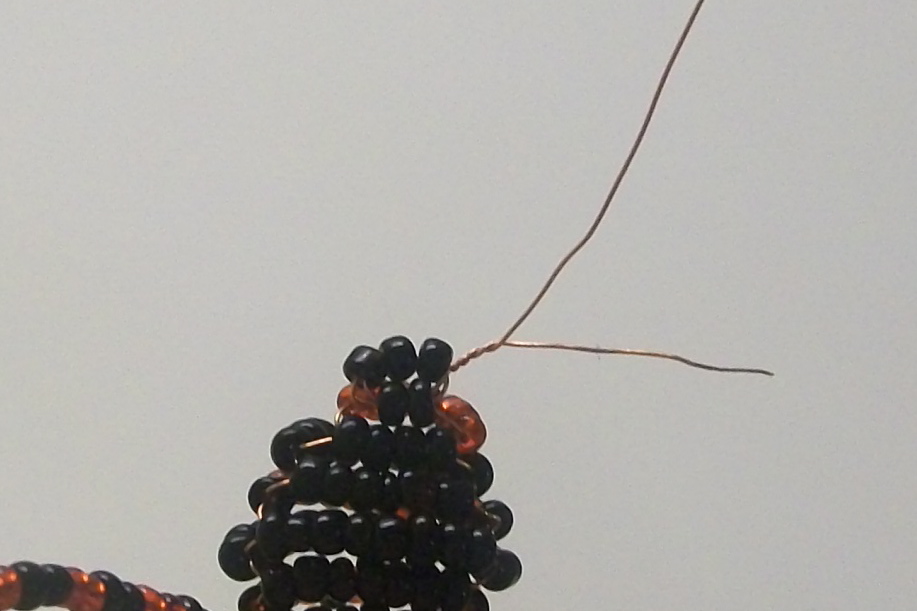
The last (13th) row: 3 black beads. Place this row between the upper and lower tiers of the previous row.

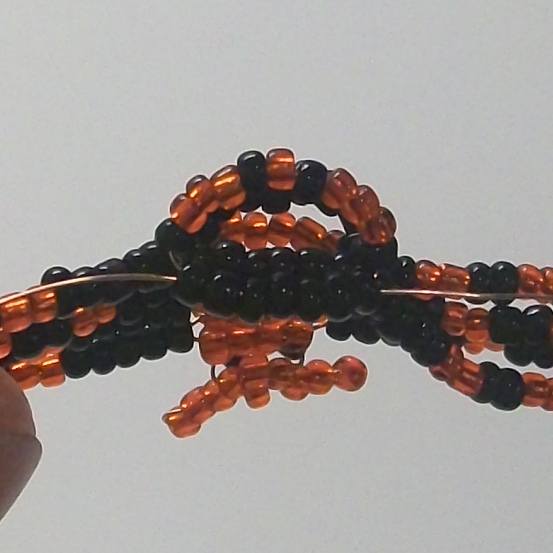
Now fix and trim the wires. Pass either one of the wires through all the beads of the lower tier of the penult row.

Twist together both wires
and cut them off. Hide the tip inside the figure.
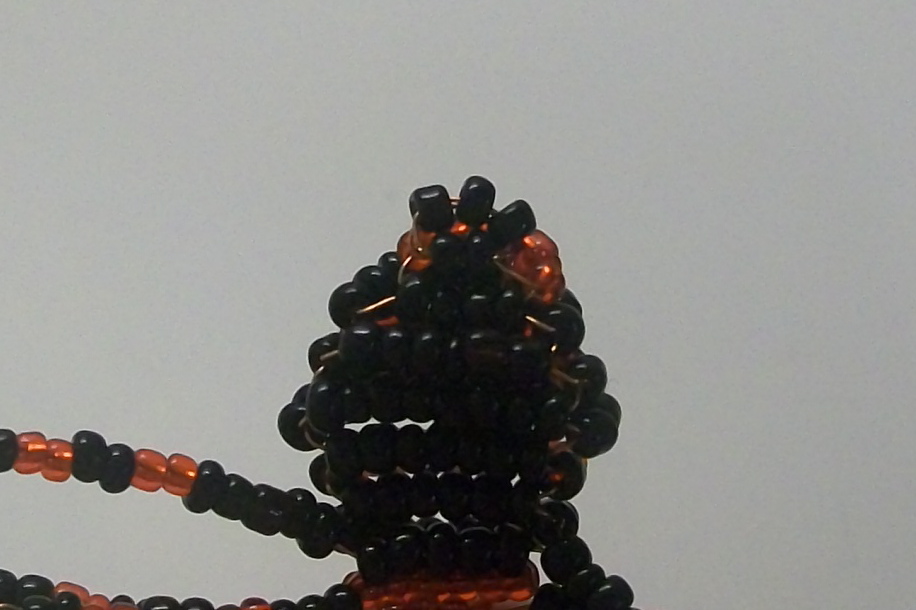
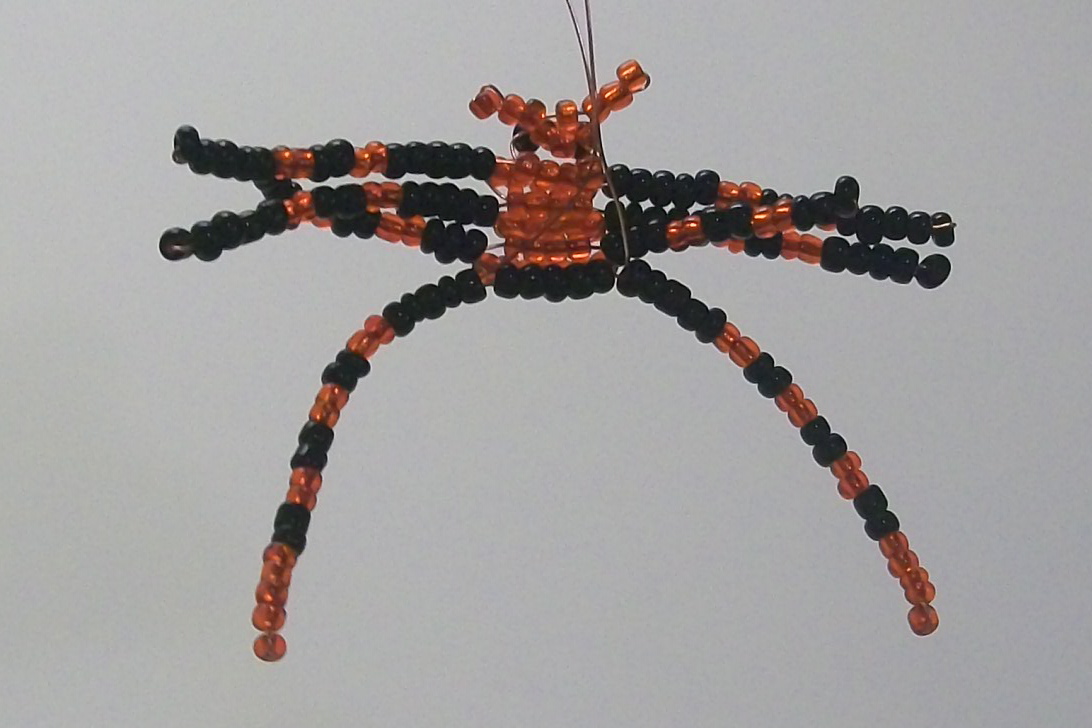
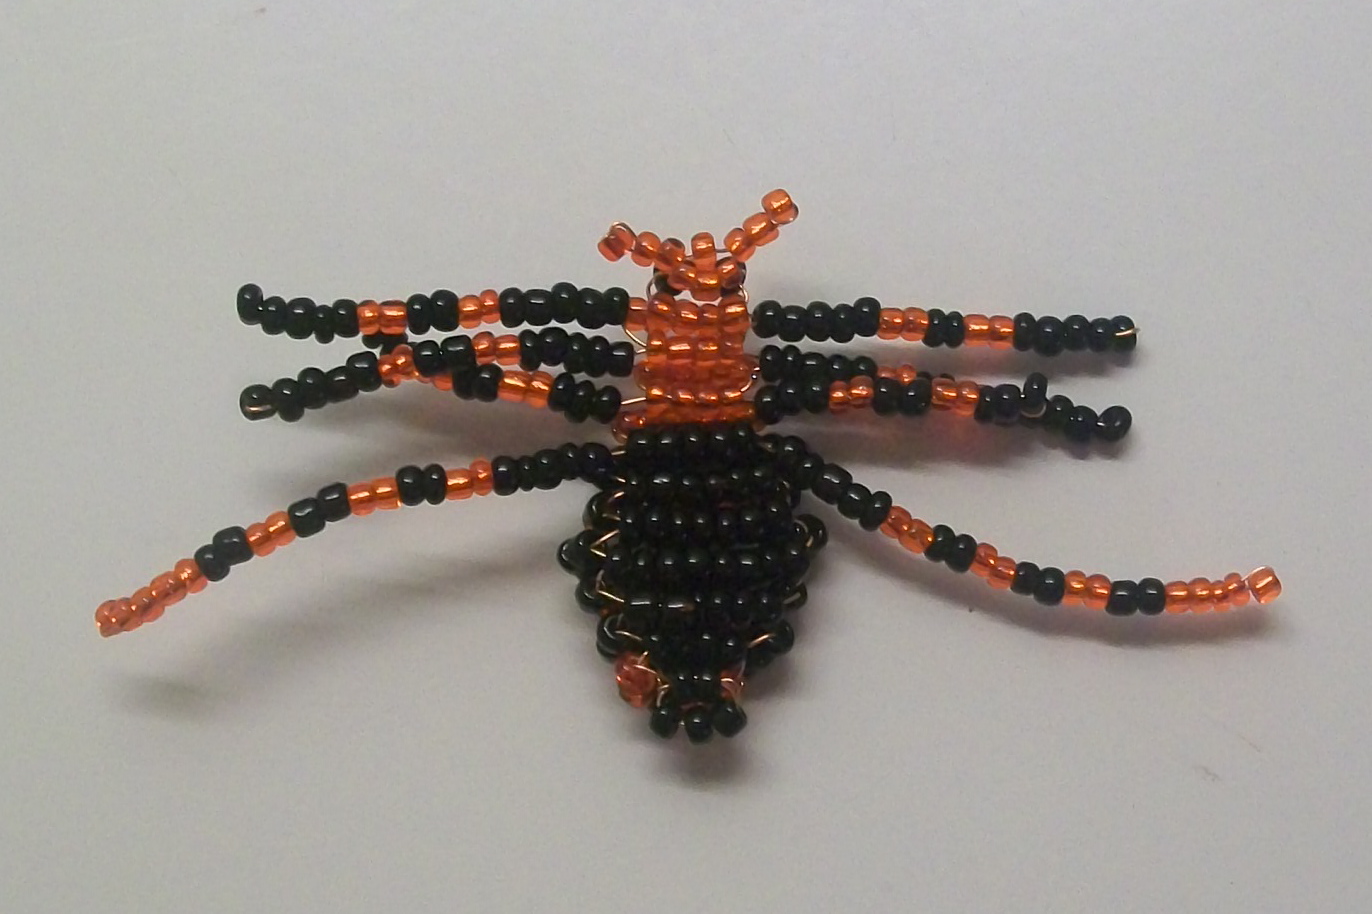
Wickerwork is completed. We've got such a figure of spider.
Top view:

Bottom view:
As the rows of the figure are not fastened to each other, the spider keeps bad shape.

Therefore it is necessary to fasten the rows of beads to each other. We do it by cross-linking. Take thin fishing line, pass it into a needle and at the end of the line make one by one two knots.

Tighten the knots on the line.

Pass the needle under the last lower row of beads.

Then pass the needle through the knot, thus fixing the fishing line on the spider.

After that sew together the rows of beads one by one passing the needle under them.

Before tighten the fishing line place it at the middle of the row.

In this way at first sew together the lower rows of beads and then the upper rows.
After sewing make and tighten a knot and hide it inside the figure.
The spider is ready!

P.S. Don't want to miss new tutorials? Subscribe for email notifications of site updates!
If you like this tutorial, share it with your friends on social networks using the buttons below the post.
Thank you so much for posting these instructions. They were exactly what I was looking for to finish off a project. My first attempt was a bit rough, but I'll keep practicing.
ReplyDelete